
How to Take Off an iPad Case
author: Eliza
2025-12-23
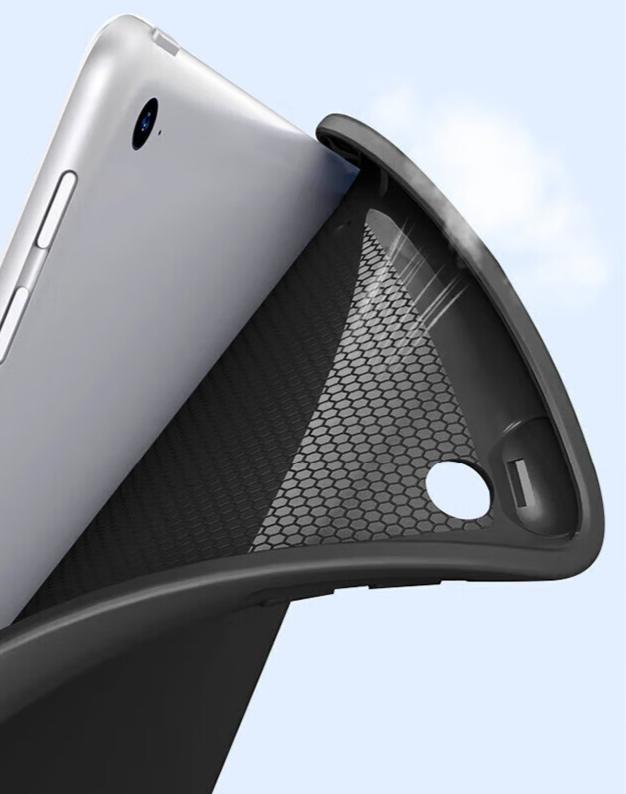
How to Take Off an iPad Case: Easy Step-by-Step Guide for Every Case Type
Let’s be real—taking off an iPad case shouldn’t feel like a hassle. We’ve all worried about cracking our iPad or breaking the case while yanking it off. Whether swapping cases, cleaning, or going caseless, the key is to do it right (no panic needed).
This guide breaks down how to remove any iPad case—hard shell, silicone, magnetic, or rugged—with no fancy tools. Let’s dive in!
First Things First: Prep to Avoid Damage
A quick prep will save you headaches. Here’s what you need to do:
1. Grab a Soft Surface (No Scratches Allowed!)
Set your iPad on a clean, soft surface (microfiber cloth, towel) to avoid scratches. This takes 2 seconds and is worth it.
2. Figure Out Your Case Type (This Is Crucial!)
Removal methods vary by case type. Here’s how to identify the main ones:
-
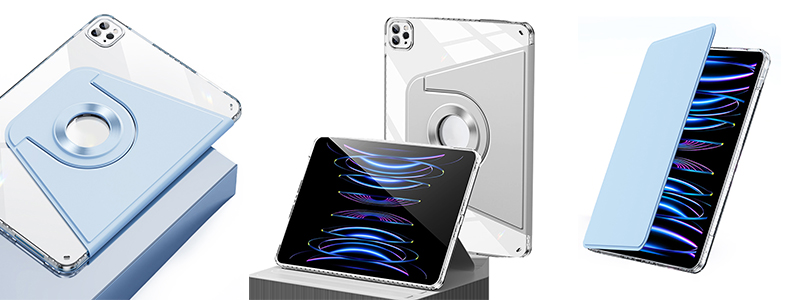
Hard Shell Case: Rigid (PC plastic/clear), clips around edges.
-
Silicone/TPU Soft Case: Flexible, stretches for easy removal.
-
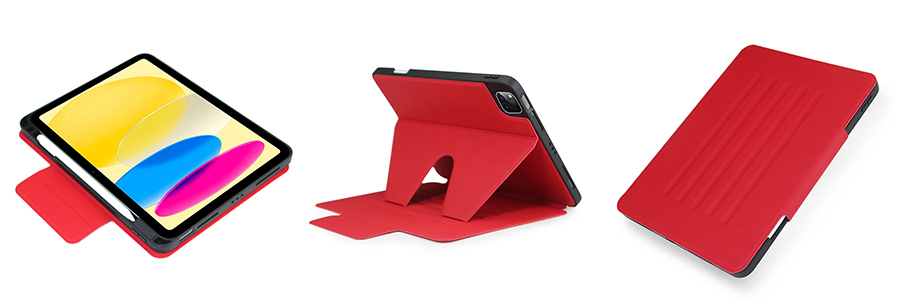
Magnetic/Folio Case: Apple Smart Cover-style, magnetic/hinged.
-
Heavy-Duty Rugged Case: Bulky, shockproof, with latches/clips.
Step-by-Step: How to Take Off Any iPad Case
Pick the section for your case type and follow along—slow and steady, no brute force!
A. Hard Shell Case (Clear/PC Plastic)
Hard cases often get stuck, but they’re easy to remove with the right approach.
Step 1: Find the Weakest Corner
Hard cases attach with edge clips. Start at a corner (away from the camera), press down, and pull up slightly to create a small gap.
Step 2: Use a Plastic Tool (Or Your Fingernail) to Pry Gently
If the gap is too small, use a plastic card (old credit card) or pry tool (no metal!). Slide it into the gap and twist gently to pop the clip (you’ll hear a click).
Step 3: Work Your Way Around the Edges
Work around the edges, popping each clip. Don’t pull the whole case off at once—lift it straight up once all clips are free.
B. Silicone/TPU Soft Case
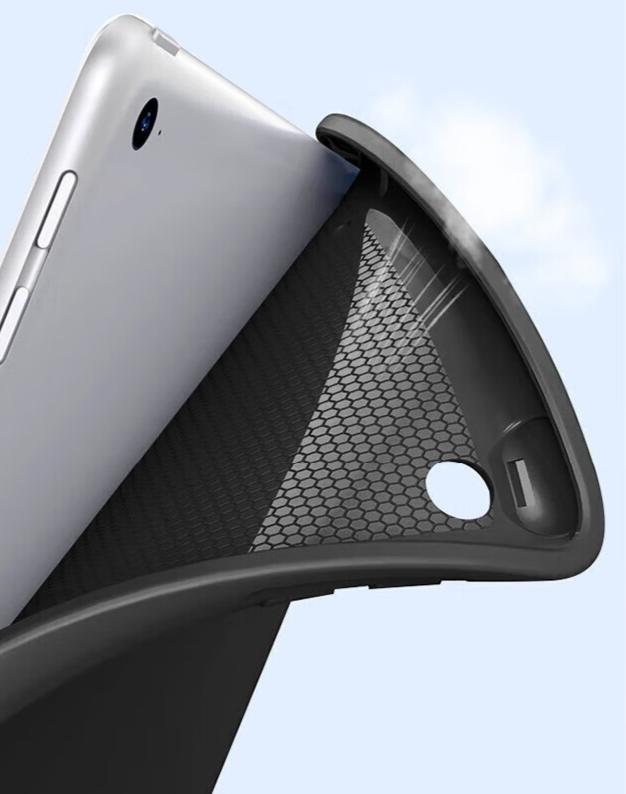
Soft cases are forgiving—their flexibility makes removal easy.
Step 1: Start at the Bottom (Or Top) Edge
Hold your iPad (screen facing you) and pinch the bottom/top edge of the case, pulling it away from the device.
Step 2: Stretch and Peel the Case Up
Once a small section is peeled, pull upward gently, stretching slightly. Work up the sides, then lift the top edge off.
Pro Tip: Don’t Over-Stretch!
Don’t over-stretch—silicone can tear. A gentle pull is enough.
C. Magnetic/Folio Case (Smart Cover Style)
These are the easiest—magnetism does most of the work.
Step 1: Separate the Magnetic Cover First
Fold back the front cover and lift it away—magnets release with a light pull. No prying needed.
Step 2: Remove the Back Plate (If It’s Attached)
If there’s a separate back plate, lift it (magnetic) or use the hard shell method to pop clips loose (clipped).
D. Heavy-Duty Rugged Case
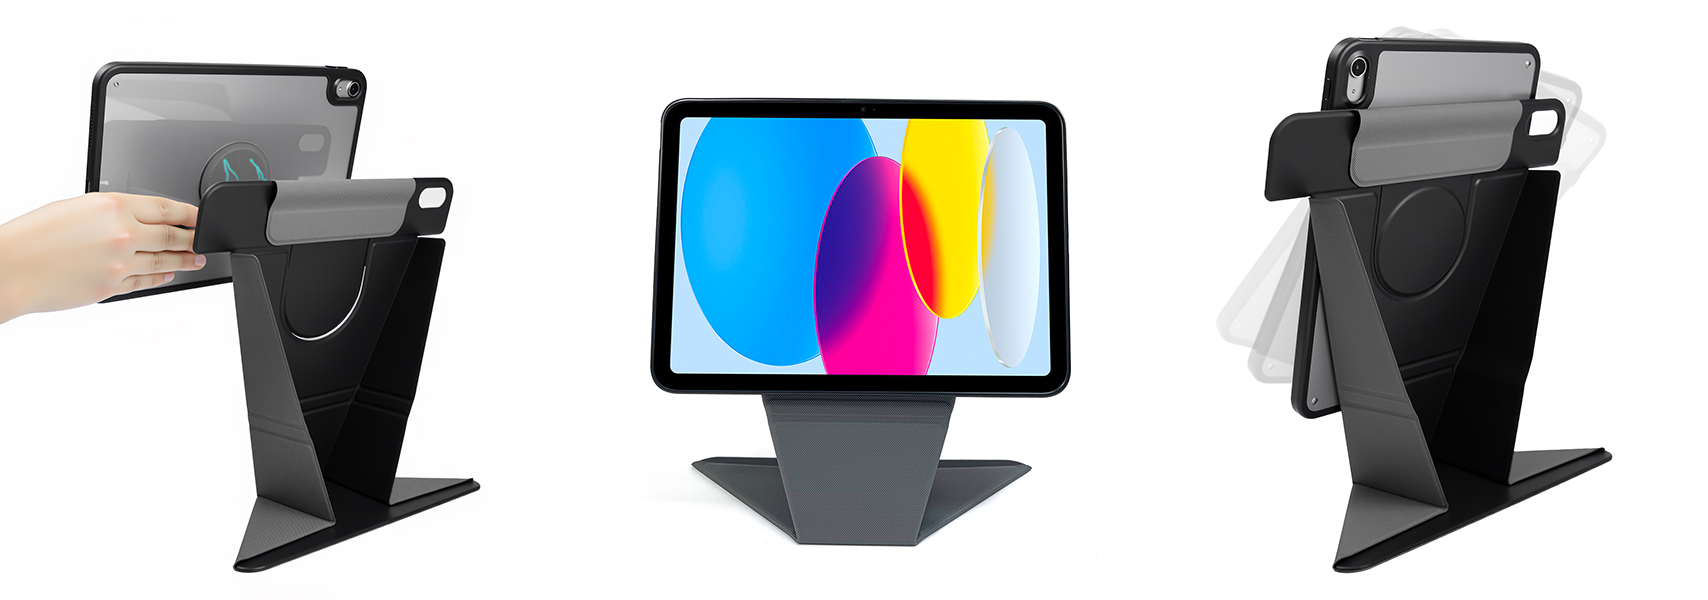
Rugged cases are bulky but removable—find the latches first.
Step 1: Find the Latches or Release Buttons
Most rugged cases (e.g., OtterBox Defender) have edge/corner latches. Press/flip them to unlock (listen for a click).
Step 2: Pry the Case Halves Apart
Once unlocked, pull the case’s front/back halves apart. Double-check all latches if it’s stuck.
Common Problems (And How to Fix Them)
Here’s how to fix common removal issues:
Problem 1: The Case Is Stuck Tight (No Gaps!)
For tight cases (new/old), warm edges with your hands for 10-15 seconds to soften material. Avoid hair dryers—too much heat damages iPads.
Problem 2: A Clip Broke Off
If a clip breaks, stop pulling. Use a plastic tool to gently lift the remaining case. Replace damaged cases (better than a broken iPad!).
Problem 3: Residue Left on the iPad
Remove sticky residue with a microfiber cloth dampened with 70% isopropyl alcohol. Avoid harsh cleaners (Windex) or paper towels (scratches).
Pro Tips to Keep in Mind
-
No Metal Tools!: Screwdrivers/keys scratch iPads—use plastic tools or fingers.
-
Clean After Removal: Wipe iPad with a microfiber cloth. Hand-wash silicone cases (mild soap/water) and air-dry before reuse.
-
Don’t Force It: Stop if something feels breakable. Double-check your method.

Final Thoughts
Removing an iPad case is about gentleness and knowing your case type. With these steps, you can swap/clean/go caseless stress-free. Remember: iPads are tough, but not indestructible—take it slow.
Got a tricky case? Drop the brand/model in the comments. Found this helpful? Share with a friend struggling with stuck cases!
Where to Buy iPad Cases?
How to Clean an iPad Case
Related Article

Dear friends, as the new year dawns with hope and joy, the entire Vorkycase team sends you our most sincere wishes—Happy New Year!
Although we haven't started our cooperation at present,we hope for a wonderful start in the new year! We’re thrilled to continue being your reliable partner for high-quality tech accessories in the coming year.
Although we haven't started our cooperation at present,we hope for a wonderful start in the new year! We’re thrilled to continue being your reliable partner for high-quality tech accessories in the coming year.
Happy New Year from Vorkycase!

Ever fumbled with pairing your Apple keyboard case to your iPad? Don’t stress— it’s way simpler than it looks! I’ll break down the step-by-step process first, then share my go-to brand for durable, stylish keyboard cases (and other tech accessories) you’ll love. Let’s get started!
How to Connect Apple Keyboard Case to iPad

Hi everyone! As the Christmas season wraps us in warmth, I want to send my sincere wishes to you and your loved ones—Merry Christmas! ? Whether you’re shopping for holiday tech gifts or need reliable accessories for your devices, Vorkycase is here to help.
Merry Christmas from Vorkycase!

Hunting for the perfect iPad case? Whether you need a protective sleeve, a handy keyboard case, or something stylish that fits your vibe, finding a reliable place to buy can be a hassle. After testing tons of brands, I’ve got a clear favorite to share: Vorkycase. Let’s break down why this is my go-to recommendation.
Where to Buy iPad Cases?